

Half letter · 8-disc system
Build Your Own.
However You Want It.
Pages that move.
A discbound planner isn’t bound — it’s held. Snap pages in, pull them out, reorder the whole thing in seconds. Five steps, start to finish.

The System
No Rings. No Glue.
Just Discs.
Every page is punched with a row of little mushroom-shaped notches that slide onto the discs. Push a page on, pull a page off — no opening rings, no rebinding, no starting over.
Move today’s itinerary to the front. Pull last year’s trip out and keep it. Add thirty blank pages the night before you fly.
Everything below is half letter — 5.5 × 8.5 inches, punched for eight discs — so every piece fits every other piece.
Five Steps
The Whole Build, Start to Finish
Start at the top and work down. Nothing here is compulsory except a cover and a set of discs.
Cover
Clear or thick. It holds everything together.
Discs
The spine. This is what lets pages come off.
Dashboard
The first page you see. Frosted or cardstock.
Pages
Six insert styles. Mix as many as you like.
Extras
Dividers, pockets, stickers, washi.

Step One
Start With a Cover
The cover sets the tone and does the work of holding everything together.
The clear cover lets whatever dashboard you choose show straight through, and closes with a stretch band. The thick cover set gives you a sturdy front and back that survives being shoved in a backpack.
Both are half letter and punched for eight discs.

Step Two
Choose Your Discs
Discs are the spine — they’re what makes the whole thing come apart and go back together.
Ours are one inch, which holds roughly 60 to 80 sheets: a solid trip’s worth of pages with room to keep adding. Want something slimmer? Use fewer pages. Want a fat, lived-in journal by the end of the year? Swap to a larger disc without rebuilding a thing.
Step Three
Add a Dashboard
The dashboard is the first page you see when you open it — part cover page, part divider, part something nice to look at.
Frosted dashboards are translucent, so whatever sits behind them softens through. Cardstock dashboards are printed with photographs and artwork from the road.
Most people end up with more than one.
Step Four
Fill It With Pages
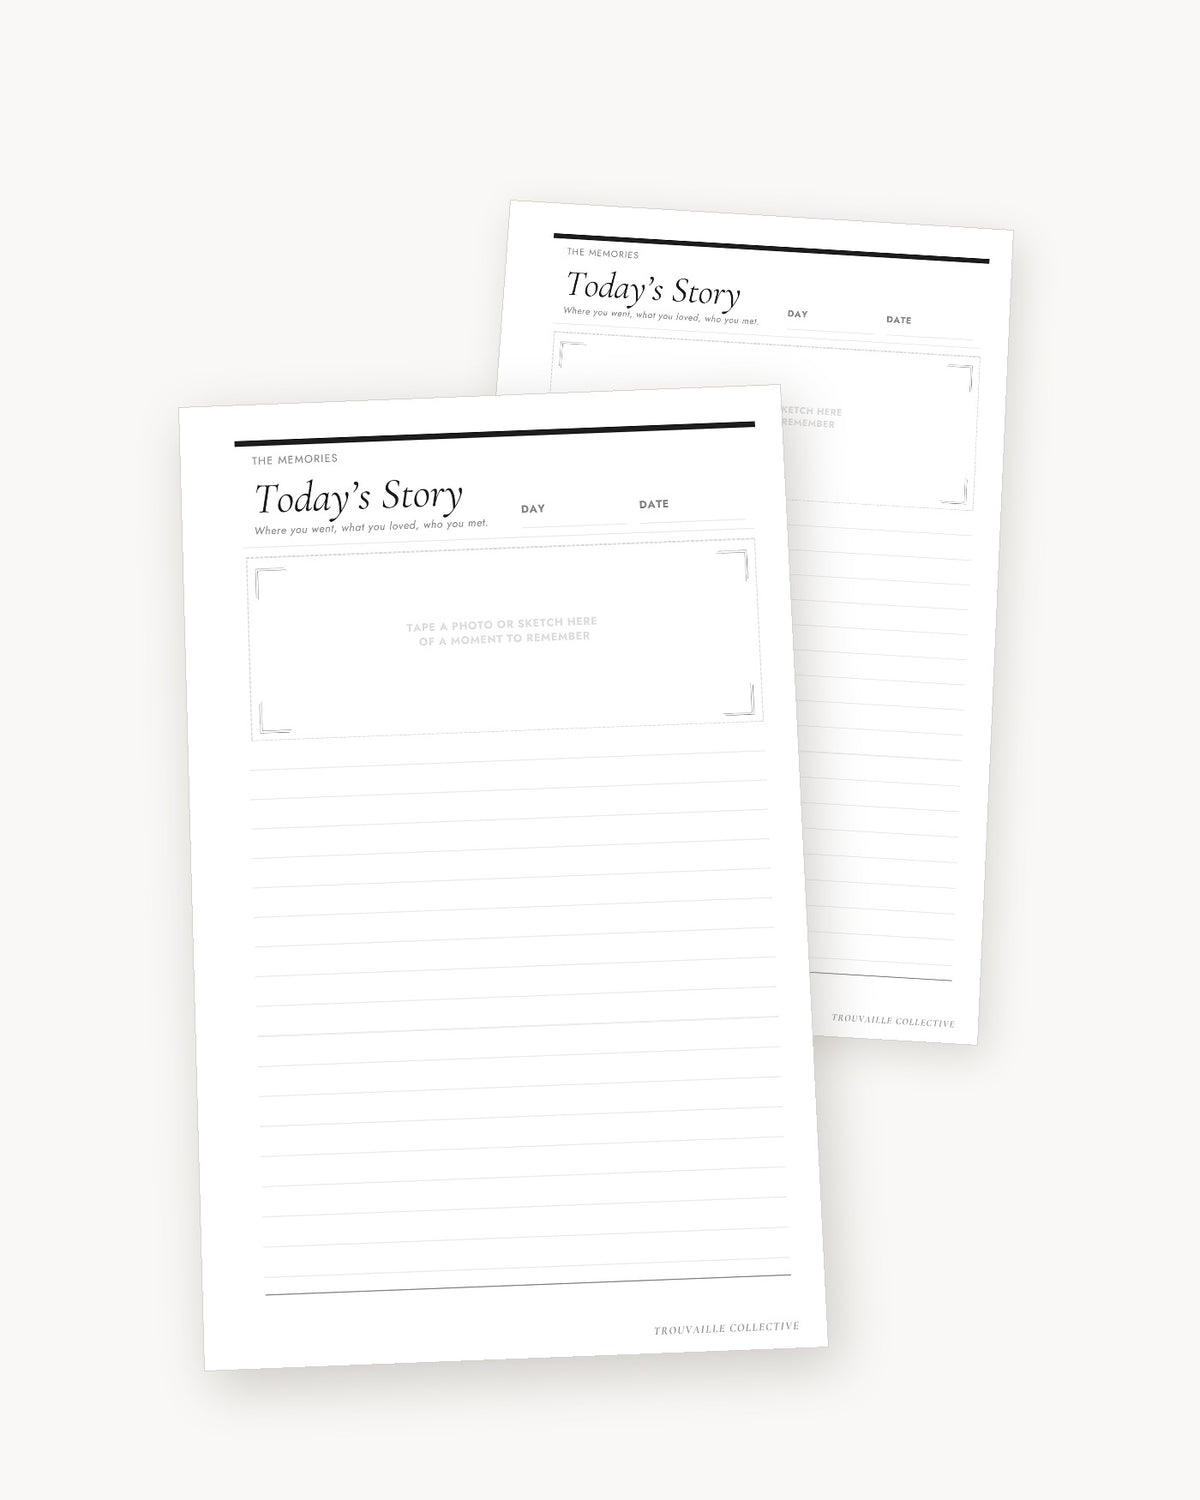
This is where it stops being ours and starts being yours. Six insert styles, thirty sheets each, printed on both sides:
- Journal Page — prompted pages for writing the trip down
- To Do and The List — for the planning half
- Grid, Lines + Grid, Four-Section Grid — blank canvas
Mix as many as you like. They all punch the same, so they all fit together.

Step Five
Make It Yours
Tabbed dividers split it into sections — plan, pack, remember. Pockets hold boarding passes, receipts and the ticket stub you want to keep.
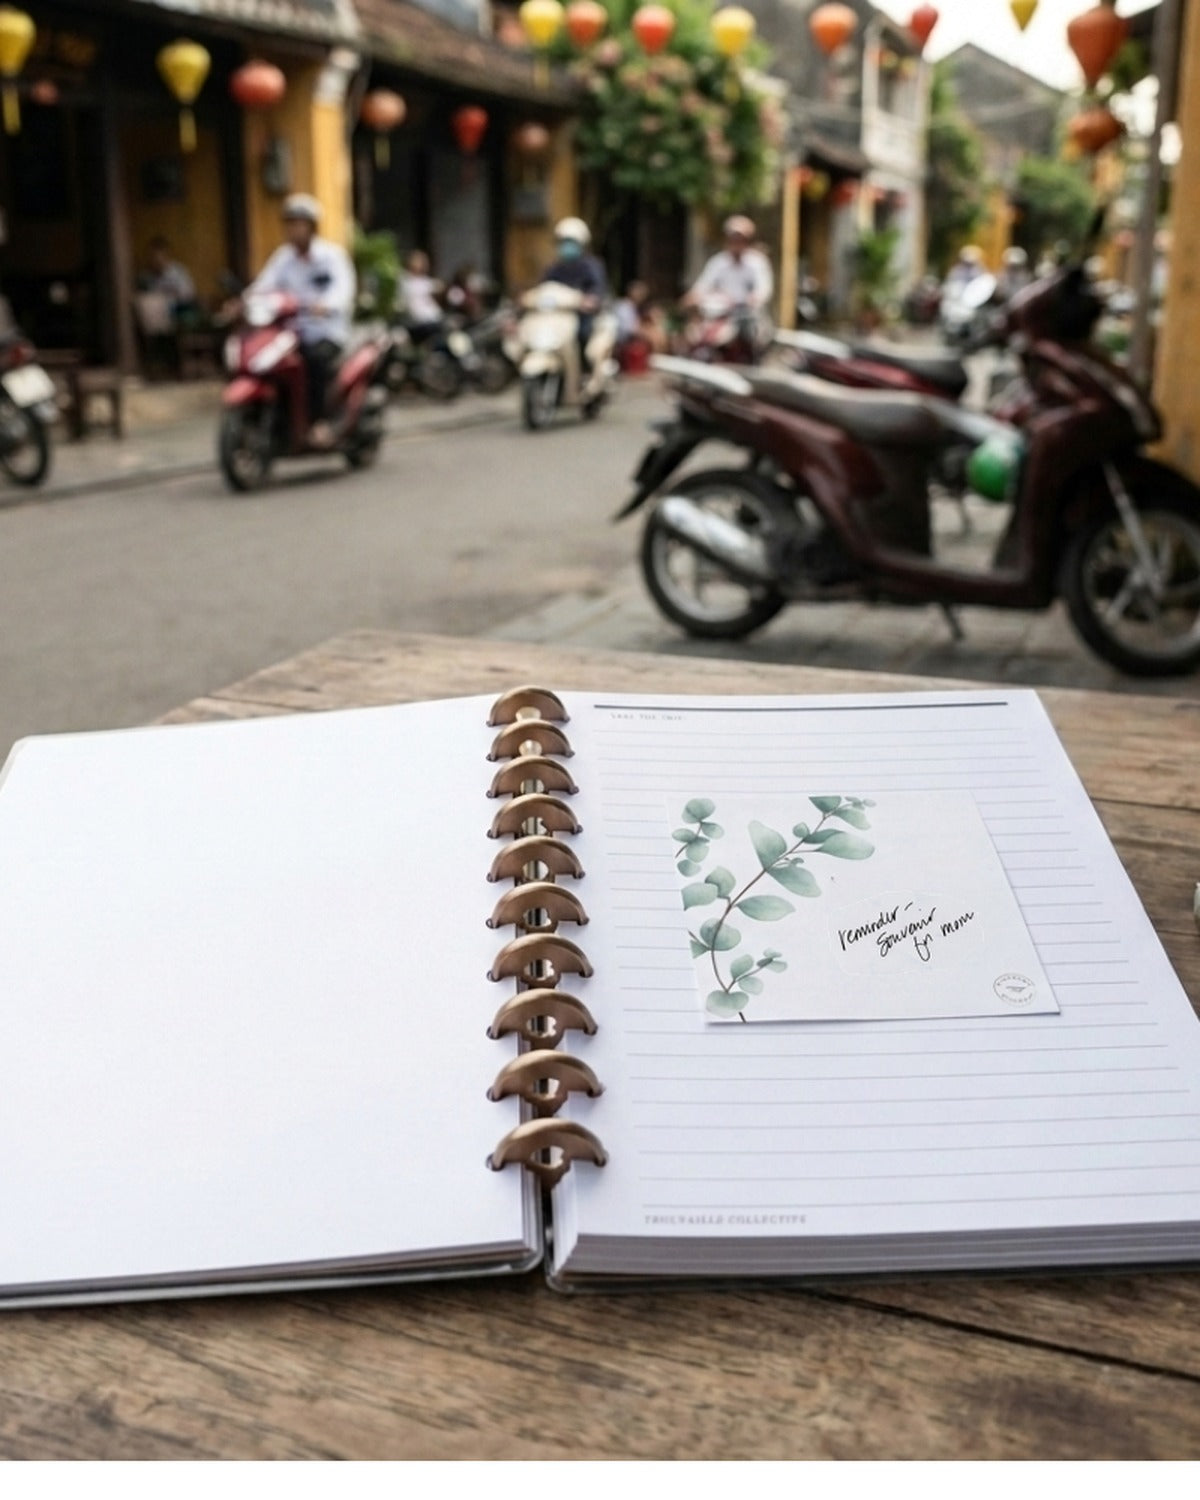
Then stickers, sticky notes and washi tape, because a planner you enjoy opening is a planner you’ll actually use.
Starting points
Three Ways to Build It
None of these are rules. They’re just somewhere to start.

The Trip Planner
For the planning half of a trip — itinerary, lists, logistics.
- Thick cover set
- 1" discs
- Any dashboard
- To Do inserts
- The List inserts
The Travel Journal
For writing it down while you’re still in it.
- Clear cover
- 1" discs
- Frosted dashboard
- Journal Page inserts
- Washi + stickers
The Everyday Notebook
Not traveling? It works just as well on a desk.
- Thick cover set
- 1" discs
- Grid inserts
- Tabbed dividers
- Pockets
Questions About Discbound
Instead of rings or a glued spine, the pages are punched with notches that snap onto a row of discs. You can add, remove and reorder pages by hand in seconds — no tools, no opening a binder mechanism.
Yes, and that’s the whole point. Pull a page straight off the discs and push it back on wherever you want it. Rearranging as your trip changes is normal use, not wear and tear.
Half letter — 5.5 × 8.5 inches — punched for eight discs. Everything in the discbound line is this size, so any dashboard, insert, divider or pocket fits any of our covers.
Our pages use the standard half-letter (junior) eight-disc punch, so they’re designed to work with junior-size discbound systems generally. If you already own one, check that your pages measure 5.5 × 8.5 inches with eight notches down the side before ordering.
The 1-inch discs comfortably hold around 60–80 sheets — a full trip’s planning plus journaling, with room left over. Larger discs swap in without changing anything else.
Yes. If you have a discbound punch you can add any paper you like — maps, printouts, postcards, pages from a hotel notepad. That’s one of the nicest things about the system.
Wherever you want it. Most people put one at the very front under the cover, but they also work beautifully as section dividers in the middle, or as a back cover.
Not at all. Plenty of people build these as everyday notebooks, work planners, recipe books or reading journals. A cover, discs and grid inserts makes a very good plain notebook.
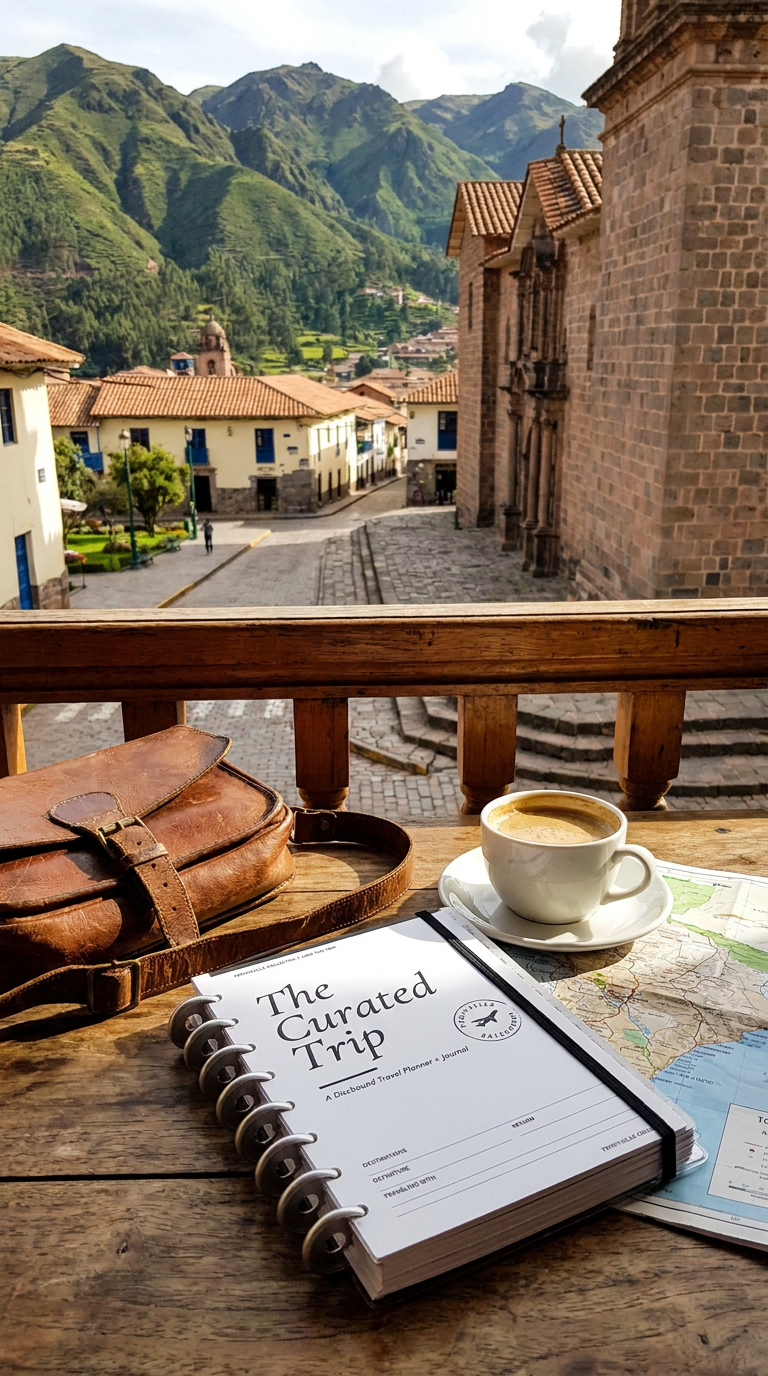
The Curated Trip is our ready-made version — 97 discbound pages already assembled, cover to cover. You can still add and remove pages from it later.
Start Building
Pick Your Pieces.
Every part of the system is half letter and punched for eight discs, so nothing you buy will fail to fit anything else. Start with a cover and a set of discs — you can add the rest one trip at a time.